
Knowledge Bite #1: Setting Up Material Pricing on AutoQuote3D
Setting up material pricing is fast and straightforward. In just a few clicks, you can add a new material, customize pricing based on variables like price per gram and startup cost, and additional options like colors and infill percentages. Our intuitive interface allows you to configure everything you need to provide accurate quotes for your 3D printing services.
Knowledge Bite #1: Setting Up Material Pricing on AutoQuote3D
Setting up material pricing on AutoQuote3D is quick and easy! Just follow these steps:
- Navigate to the Configuration Page
Locate the configuration page to get started.
- Add a New Material
Click the Add Material button.
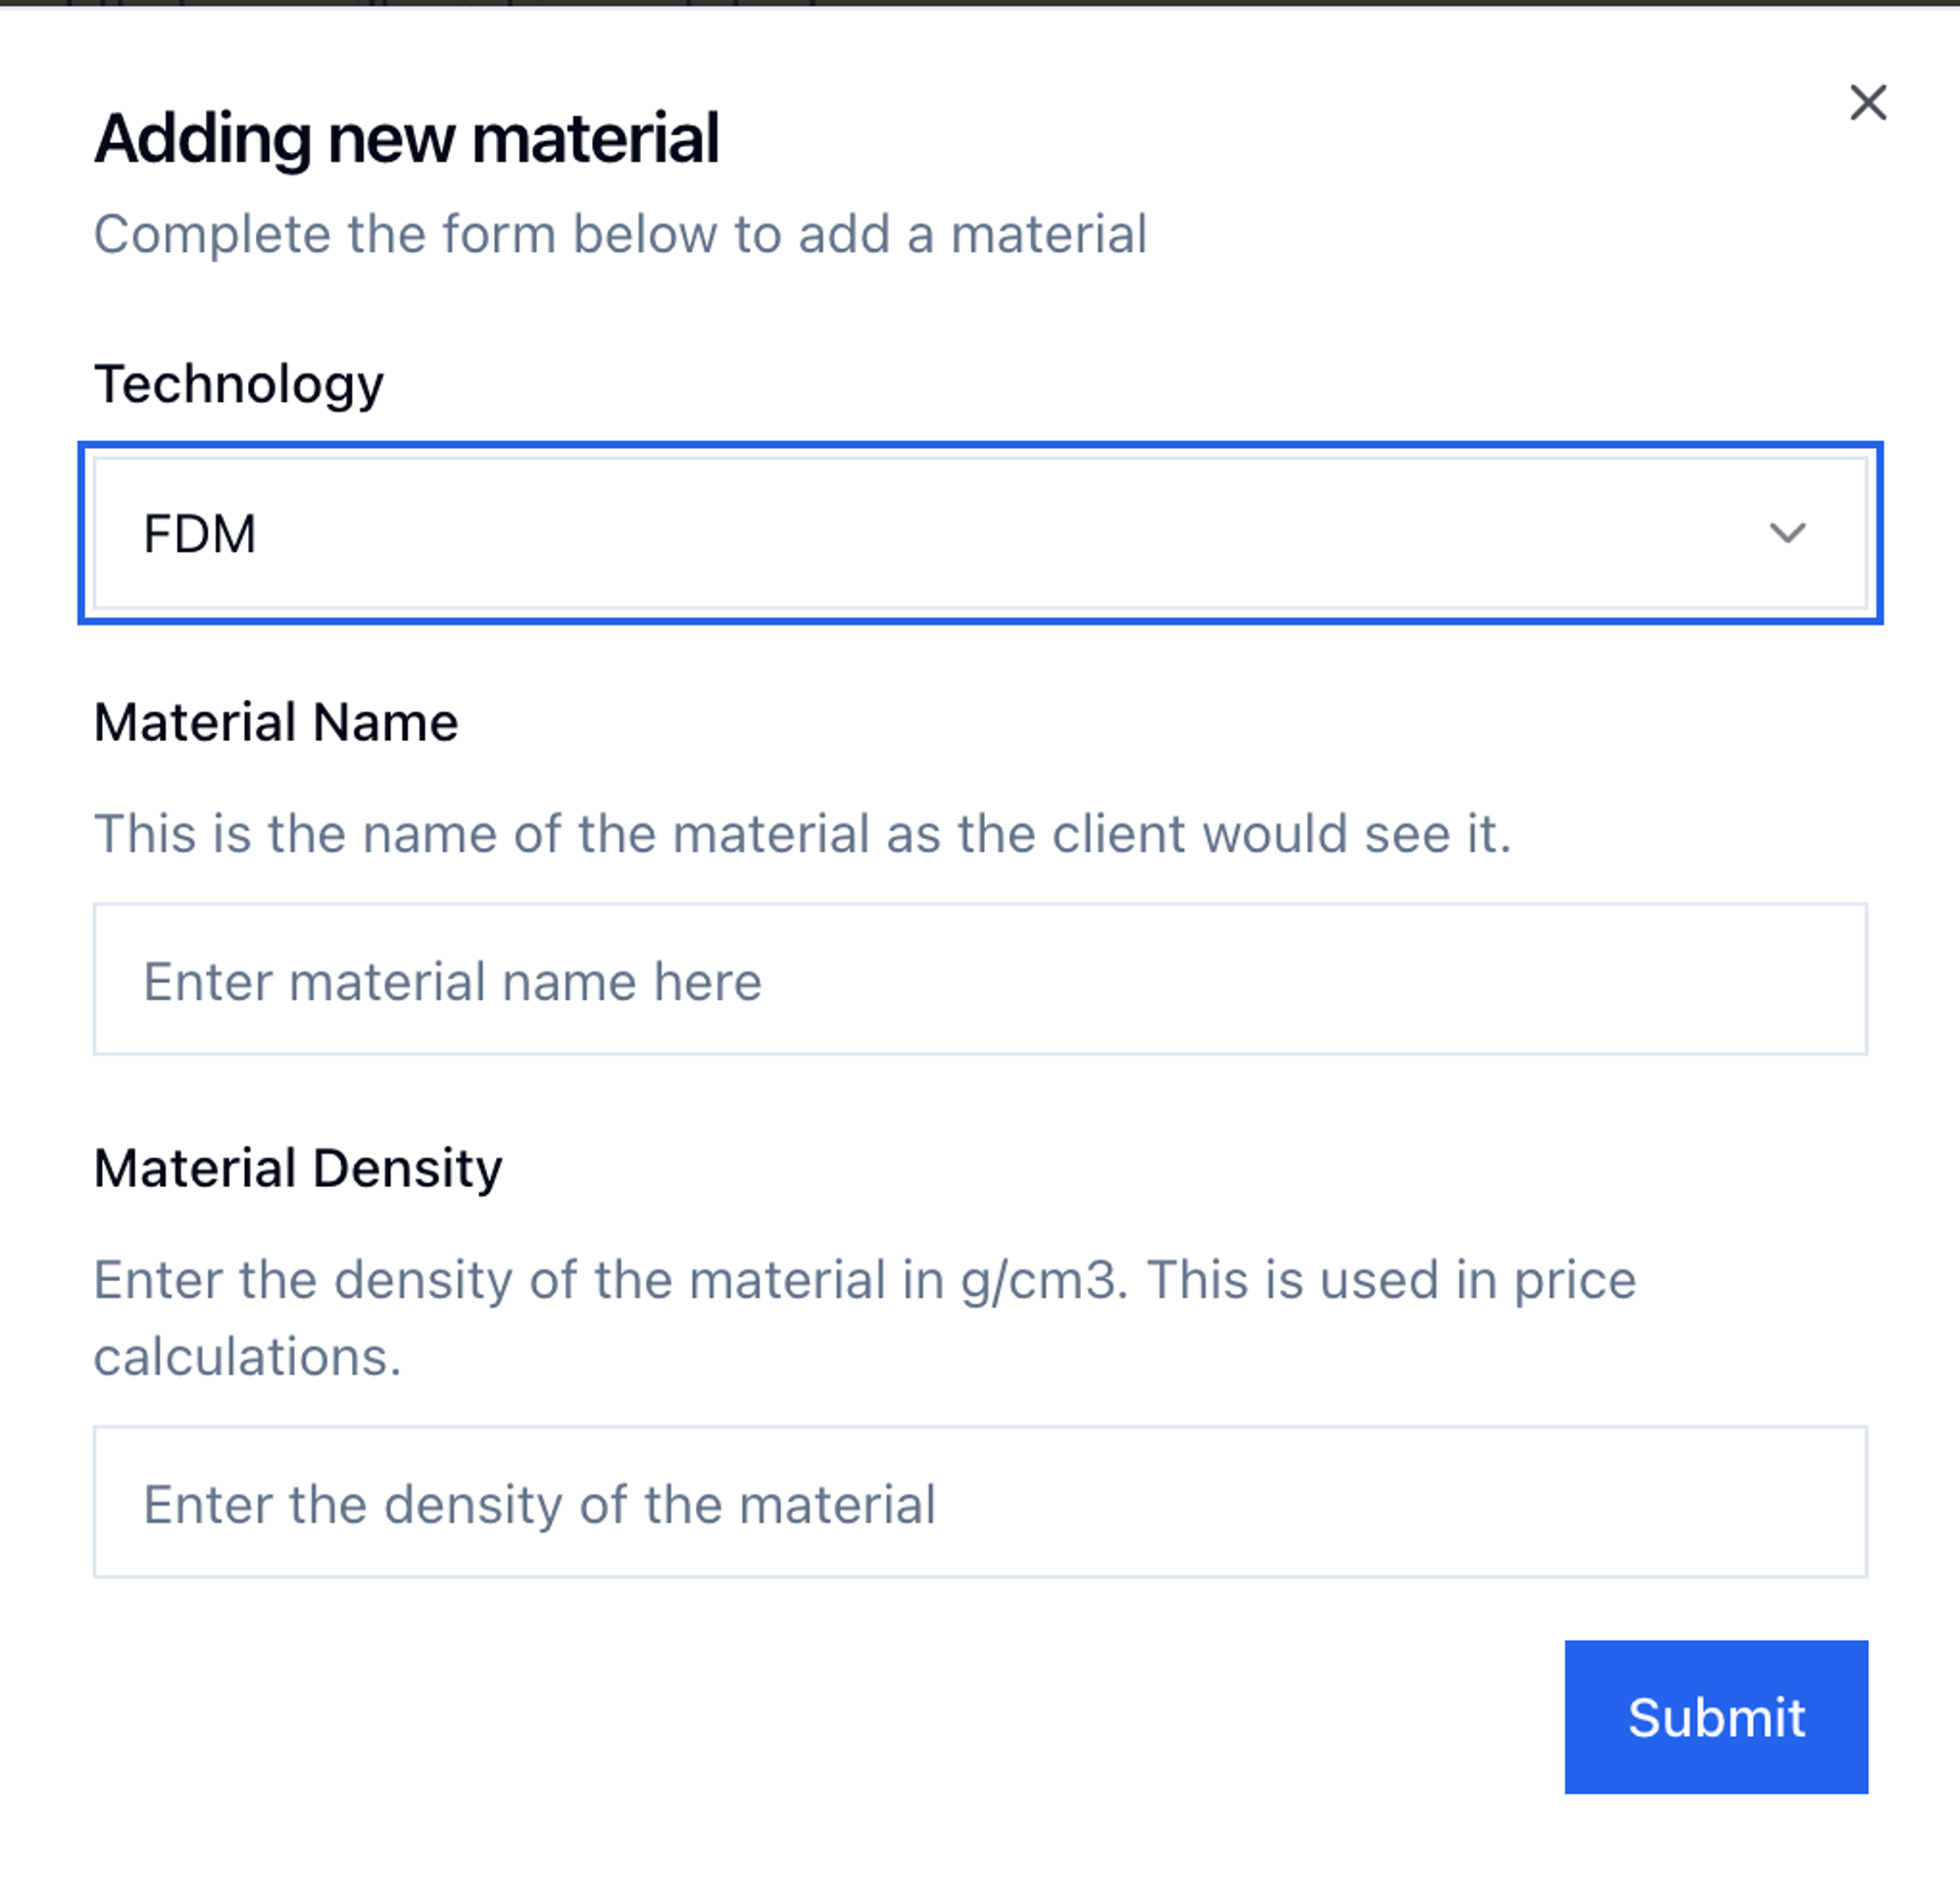
- Choose the Printing Technology
Select the printing technology:
- FDM
- SLA
- SLS
- Name the Material
Give your material a descriptive name like:
- PLA
- ABS
- Nylon 12
- Enter the Material Density
- If you're unsure of the exact density, simply enter
- Add Layer Height for Pricing
To determine pricing, you'll need to add a layer height.
Click the plus icon under the Layer Height column:

- Enter Pricing Variables
We use three key pricing variables to calculate cost:
- Price per gram/mL (PPG)
- Discount factor (DF)
- Start-up cost (SC)
The cost is calculated using the formula:
Cost ($) = PPG * (grams/mL) ^ DF + SC
Example Values:
- DF = 0.7
- PPG = 2.5
- SC = 10
- Customize Colors and Infill Options
Finally, don't forget to add color and infill percentage options to offer more customization for your clients.